
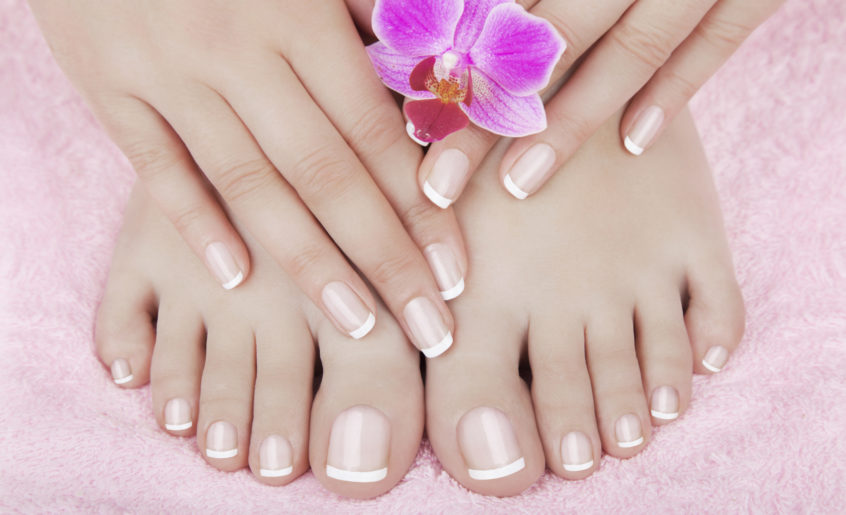
Tired, aching feet deserve more than just a passing thought. A professional pedicure can feel like a luxury, but with a well-equipped pedicure kit, you can achieve salon-worthy results in the comfort of your home. Let’s explore what makes a great kit, how to use it, and why it’s a game-changer for foot care.
What’s Inside a Pedicure Kit?
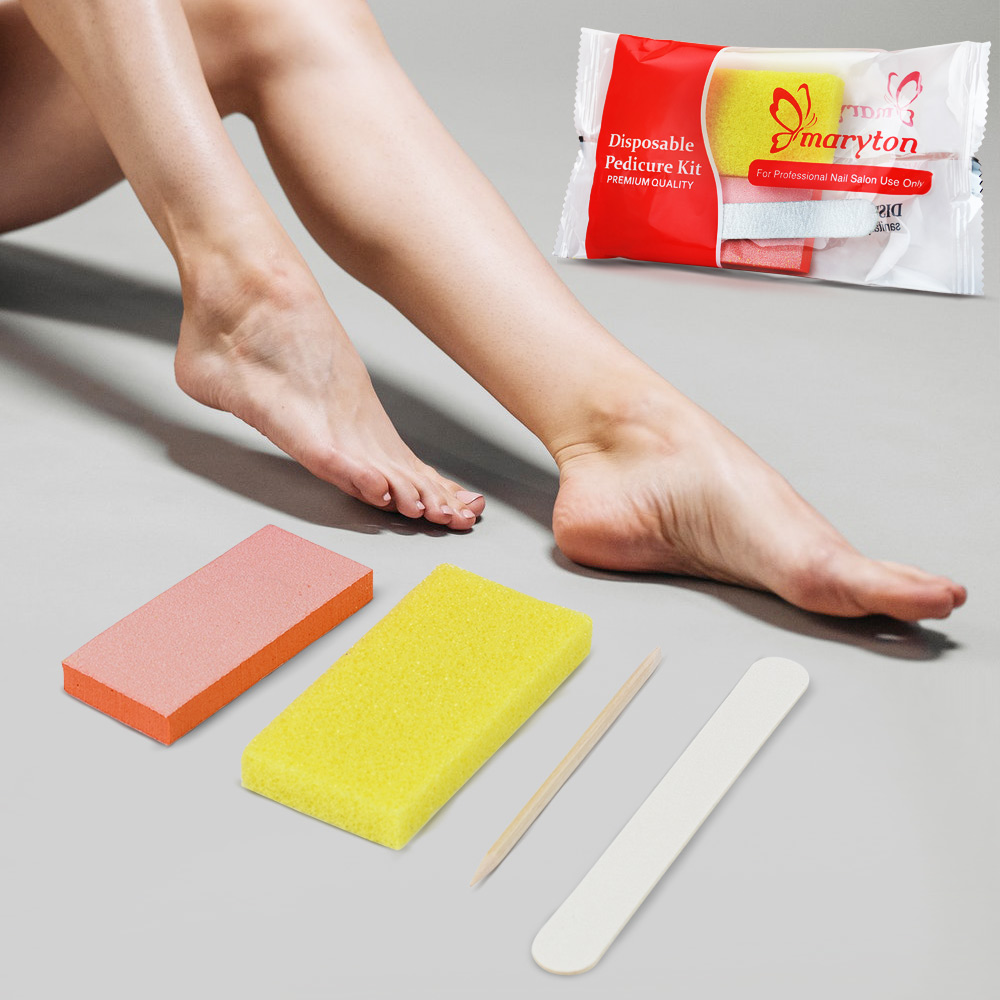
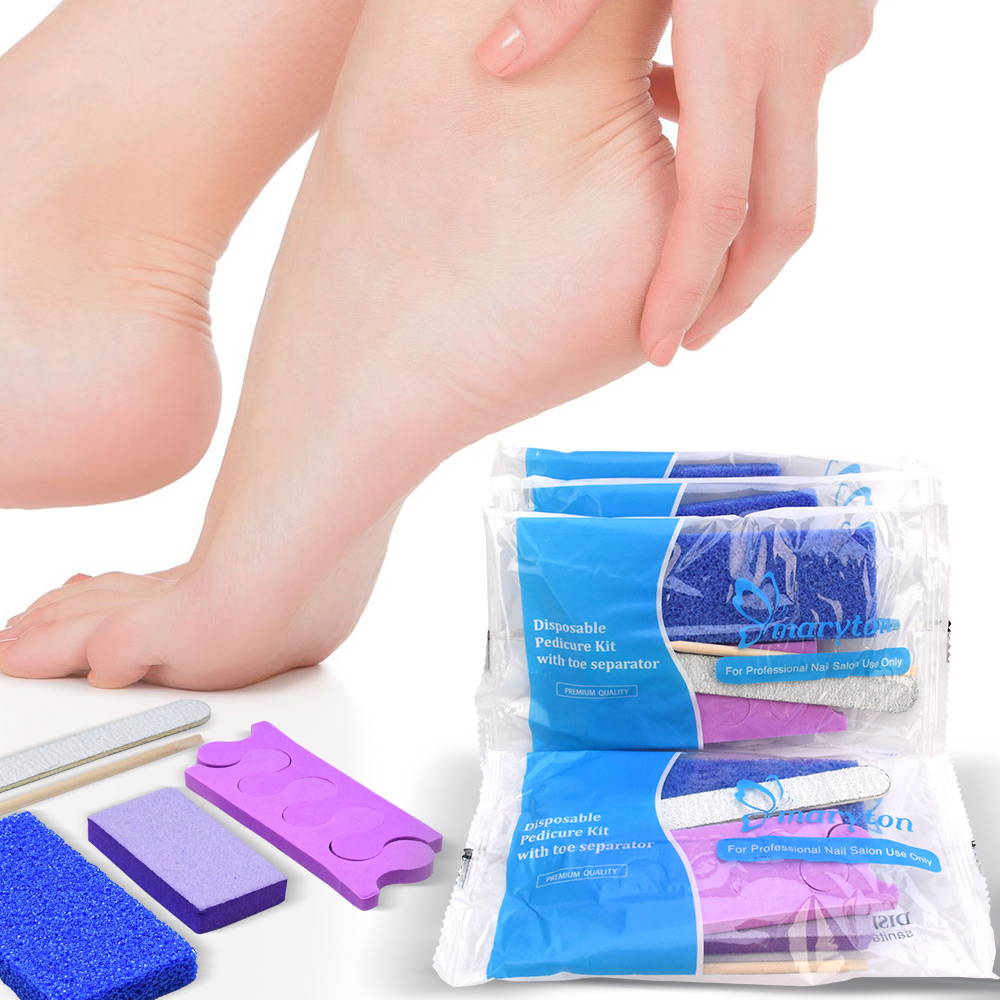
Think of a pedicure kit as a mini foot-care spa in a case. While contents vary, a comprehensive kit typically includes:
- Basic Tools: A nail file (often an emery board or metal file) for shaping.
- Exfoliation Essentials: A pumice stone is crucial for removing dead, hard skin from heels and calluses.
- Cuticle Care: A cuticle pusher (often wooden) and a cuticle trimmer to gently manage cuticles.
- Finishing Touches: A toe separator to make polishing easier.
Choosing Your Perfect Kit
Not all kits are created equal. Here’s what to look for:
1. Quality Over Quantity: A few well-made tools are better than a dozen flimsy ones. Look for stainless steel tools—they are durable, rust-resistant, and easier to sanitize.
2. Ergonomics & Safety: Tools should feel comfortable in your hand. Ensure clippers have a sharp, clean-cutting edge to prevent nail splitting. Files should have a fine-grit side for smoothing.
3. Your Specific Needs: If you have thick calluses, prioritize a kit with a robust foot file or pumice stone. For basic maintenance, a simpler set will suffice.
4. Hygiene & Storage: A compact, organized case is vital. It keeps tools together, protects them, and ensures hygiene.
Crafting the Perfect At-Home Pedicure
Follow these steps for beautiful, healthy feet:
1. Soak & Soften: Begin by soaking your feet in warm, soapy water for 10-15 minutes. Add Epsom salts for extra relaxation and softening.
2. Trim & Shape: Dry your feet thoroughly. Trim nails straight across with the clipper to prevent ingrown toenails, then gently shape the edges with the file.
3. Tackle Calluses: Use the pumice stone or foot file on damp skin. Gently rub in circular motions on hardened areas. Be gentle—never slice or scrape aggressively.
4. Care for Cuticles: Gently push back softened cuticles with the pusher. Only use the trimmer to snip away obvious hangnails, never cut healthy cuticles deeply.
5. Moisturize & Polish: Massage a rich foot cream or lotion into your skin and nails. Use the toe separator if applying polish, finishing with a clear top coat for longevity.
The Benefits of a Personal Kit
Investing in a professional pedicure kit pays off in multiple ways:
- Convenience & Savings: Enjoy a pedicure anytime without appointments or high costs.
- Hygiene: Using your own tools eliminates the risk of infections from public salons.
- Consistent Care: Regular maintenance prevents problems like severe calluses, cracked heels, and ingrown nails.
- Therapeutic Ritual: The process is a wonderful act of self-care, reducing stress and promoting relaxation.
Pro Tips to Make Your Kit Last
Extend the life of your tools with simple care:
- Clean After Every Use: Wash all tools with warm water and antibacterial soap. Dry them completely before storing to prevent rust.
- Disinfect Regularly: Wipe metal tools with rubbing alcohol or soak them in a disinfectant solution weekly.
- Store Properly: Always keep your kit closed and in a cool, dry place. Avoid leaving tools damp in the bathroom.
- Sharpen or Replace: Clippers will eventually dull. Learn to sharpen them or budget for replacement every few years with heavy use.
A good pedicure kit is more than just a collection of tools; it’s an investment in your foot health and overall well-being. By choosing wisely, using it correctly, and maintaining it well, you can keep your feet looking and feeling fantastic all year round. Your journey to happy, healthy feet starts here.
Read also: Winter dry feet prevention and care guide